)
)
)
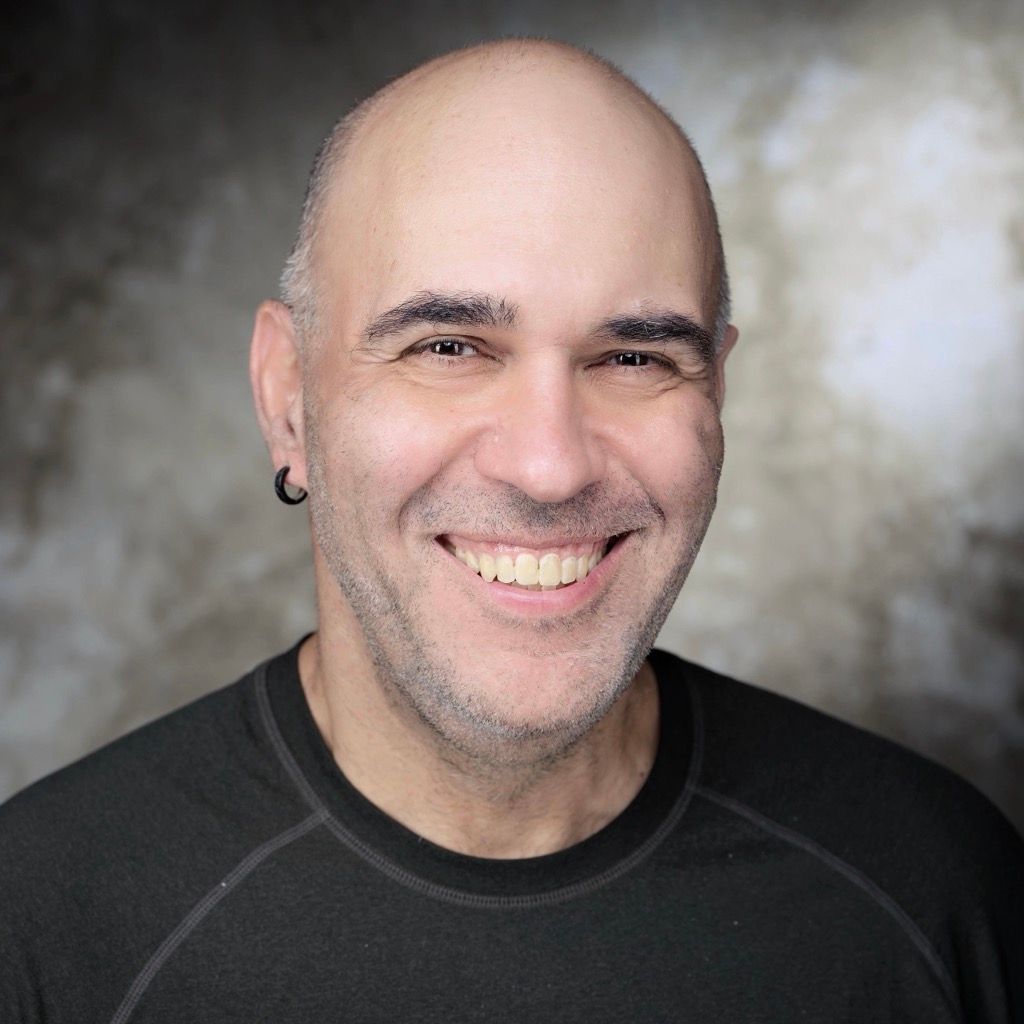
The show has got better and better over the years and is a great place to meet some of the best industry professionals there are.
David Klafkowski
Racoon/Tanooki
The show has got better and better over the years and is a great place to meet some of the best industry professionals there are.
David Klafkowski
Racoon/Tanooki
Events like this are really important because it's a great opportunity to meet new faces, see what everyone else is about, they can see what you are about, because you can't always meet up in between or when you're busy on-site.
Elise Martin
High Viz Media Group
Events like this are really important because it's a great opportunity to meet new faces, see what everyone else is about, they can see what you are about, because you can't always meet up in between or when you're busy on-site.
Elise Martin
High Viz Media Group
It shows how thriving the industry is, seeing so many people making connections in person rather than having to do it remotely
Anna Davies
Arrow Media
It shows how thriving the industry is, seeing so many people making connections in person rather than having to do it remotely
Anna Davies
Arrow Media
MPTS has been a fantastic success this year and really well attended. As a pro audio technology provider, we were able to meet with all of our key contacts and have important conversations.
Lexie Morgan
HHB Communications
MPTS has been a fantastic success this year and really well attended. As a pro audio technology provider, we were able to meet with all of our key contacts and have important conversations.
Lexie Morgan
HHB Communications
We have had a great Media Production and Technology Show. Footfall increased from last year, and we had plenty of pre-arranged meetings and fantastic walk-ins. Our team was busy throughout the day, with back-to-back appointments.
Alastair Washbourn
ELEMENTS
We have had a great Media Production and Technology Show. Footfall increased from last year, and we had plenty of pre-arranged meetings and fantastic walk-ins. Our team was busy throughout the day, with back-to-back appointments.
Alastair Washbourn
ELEMENTS